
●プレイヤー制御
▷スクリプト整理
スクリプト格納用のフォルダを作成します。
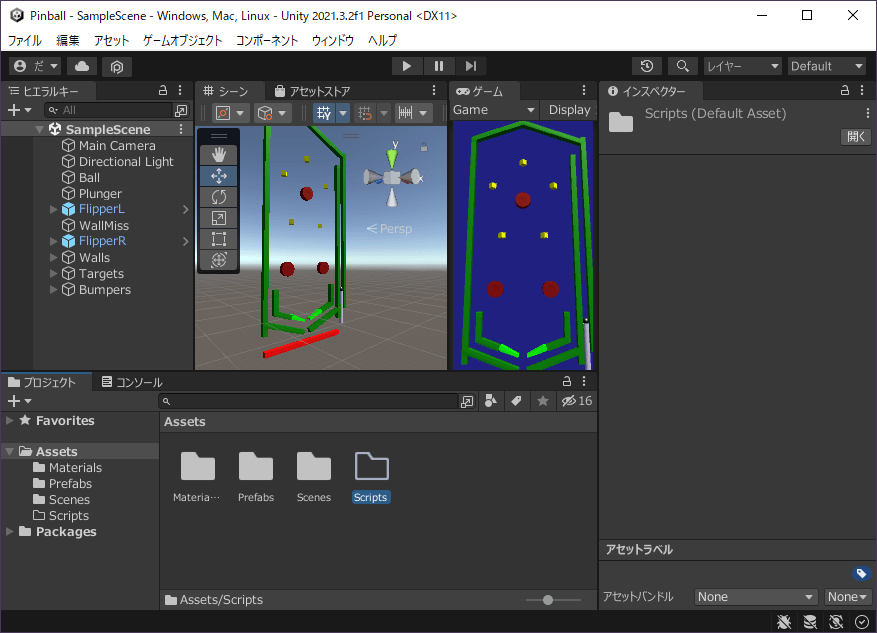
- プロジェクト左上の「+」をクリックし、「フォルダー」をクリック
- 「Scripts」と入力し、ENTERキーを押す
▷玉物理設定
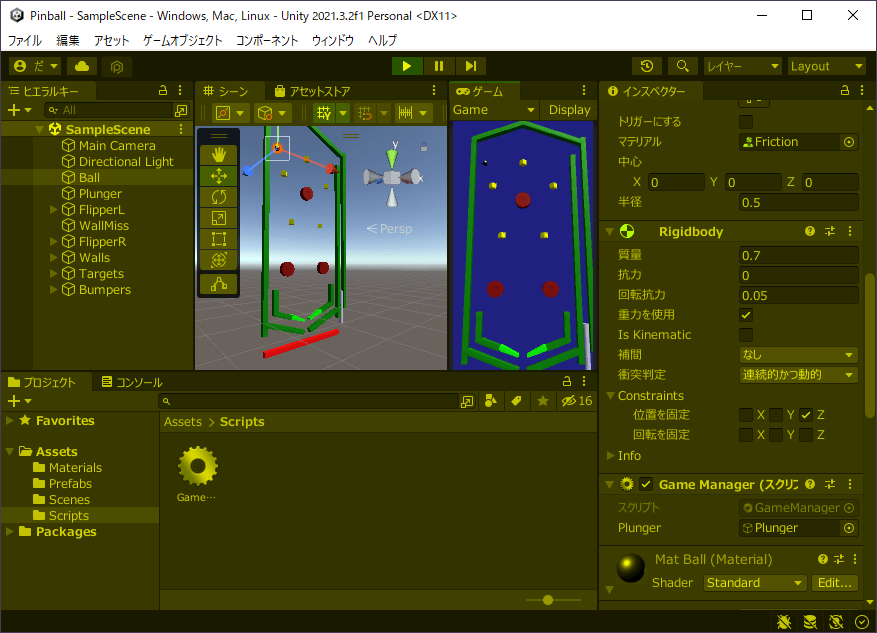
玉にRigidbody「質量(0.7)、衝突判定(連続的かつ動的)、Z位置固定」として割り当て、物理マテリアルを弾性力(0.3)として割り当てます。
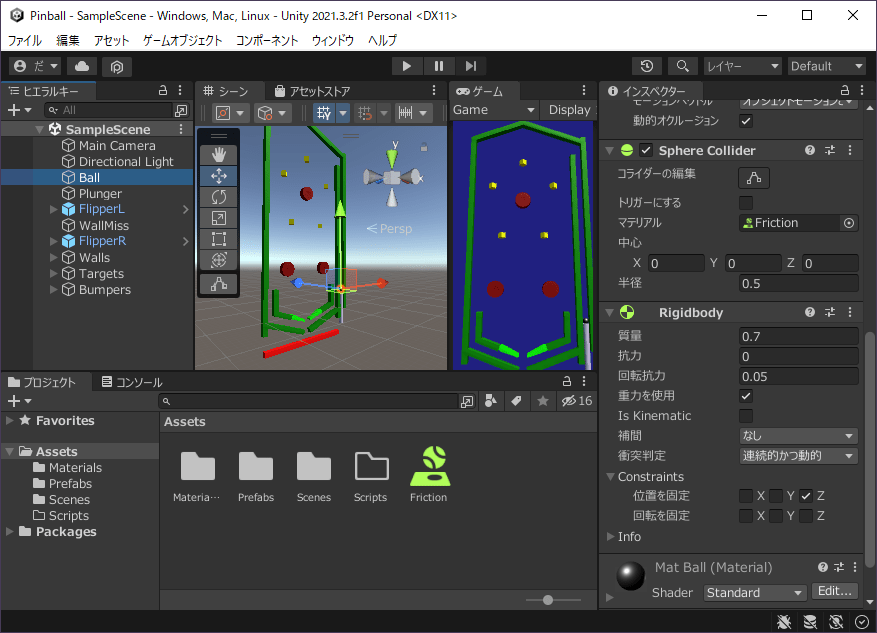
- ヒエラルキーの「Ball」をクリック
- インスペクターの「コンポーネントを追加」をクリックし、Physics>Rigidbodyをクリック
- インスペクターの「Rigidbody>質量」を(0.7)に設定
- インスペクターの「Rigidbody>衝突判定」を(連続的かつ動的)に設定
- インスペクターの「Rigidbody>Constraints>位置を固定>Z」をチェック
- プロジェクトの「Assets」を右クリックし、「作成>物理マテリアル」をクリック
- 「Friction」と入力し、ENTERキーを押す
- インスペクターの弾性力を(0.3)に設定
- プロジェクトの「Friction」をヒエラルキーの「Ball」にドラッグ&ドロップ
- CTRLキーを押しながらSキーを押す
▷打ち出し器物理設定
打ち出し器にRigidbodyを割り当て、Is Kinematic(あり)、衝突判定(連続的かつ動的)とします。

- ヒエラルキーの「Plunger」をクリック
- インスペクターの「コンポーネントを追加」をクリックし、Physics>Rigidbodyをクリック
- インスペクターの「Rigidbody>Is Kinematic」をチェック
- インスペクターの「Rigidbody>衝突判定」を(連続的かつ動的)に設定
- CTRLキーを押しながらSキーを押す
▷制御スクリプト作成
スクリプト「GameManager」を作成し、玉に割り当てます。
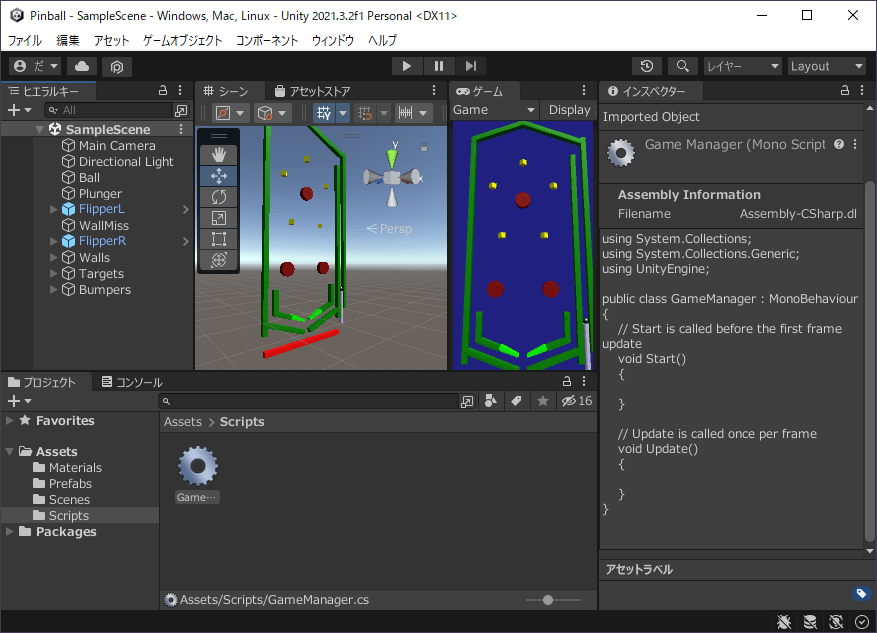
- プロジェクトの「Assets>Scripts」を右クリックし、「作成>C# スクリプト」をクリック
- 「GameManager」と入力し、ENTERキーを押す
- プロジェクトの「GameManager」をヒエラルキーの「Ball」にドラッグ&ドロップ
- CTRLキーを押しながらSキーを押す
▷打ち出し器制御
スペースを押している間は1フレームに0.5の速度で最大0まで上昇、離している間は1フレームに1の速度で最小-3.5まで下降させます。
- プロジェクトの「Assets>Scripts>GameManager」をダブルクリック
- スクリプトを以下のように記述
using System.Collections;
using System.Collections.Generic;
using UnityEngine;
public class GameManager : MonoBehaviour
{
public GameObject plunger;
float plungerY = 3.5f;
// Start is called before the first frame update
void Start()
{
}
// Update is called once per frame
void Update()
{
Vector3 pos = plunger.transform.position;
if (Input.GetAxis("Jump") <= 0)
{
plungerY = Mathf.Clamp(plungerY + 0.5f, -3.5f, 0);
pos.y = plungerY;
}
if (Input.GetAxis("Jump") > 0)
{
plungerY = Mathf.Clamp(plungerY - 1, -3.5f, 0);
pos.y = plungerY;
}
Rigidbody rb = plunger.GetComponent<Rigidbody>();
rb.MovePosition(pos);
}
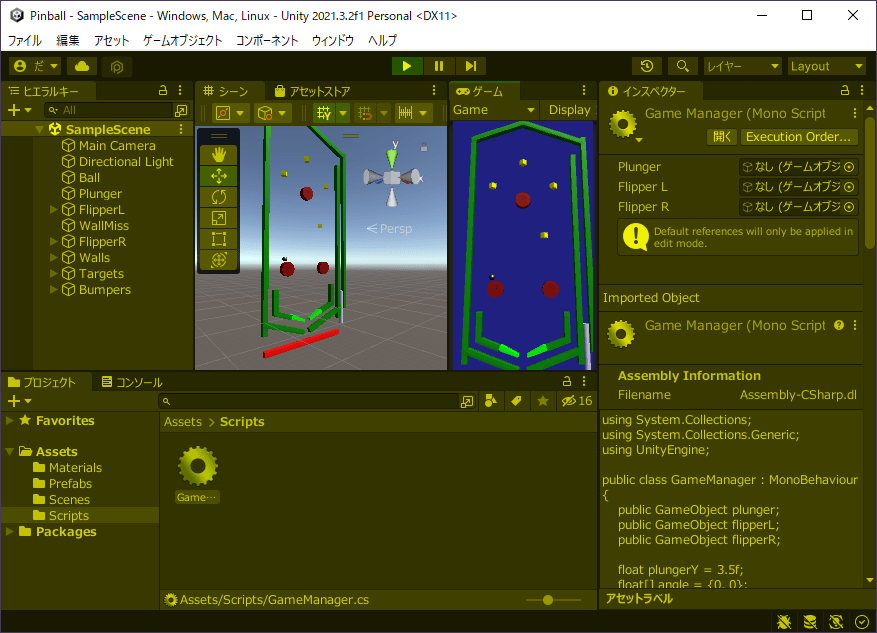
}▷打ち出し器割り当て
GameManagerの参照に打ち出し器を割り当てます。
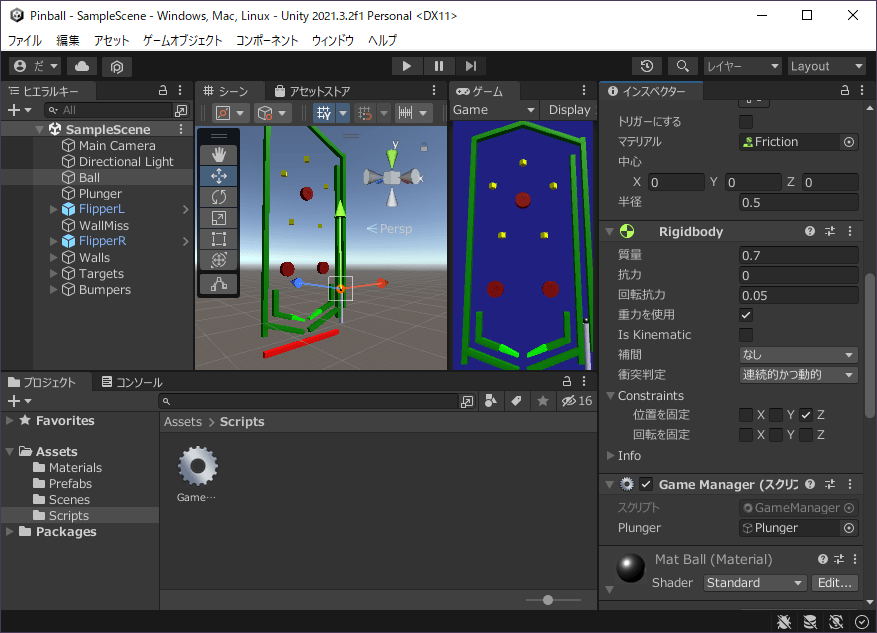
- ヒエラルキーの「Ball」をクリック
- ヒエラルキーの「Plumger」をインスペクターの「GameManager>Plunger」にドラッグ&ドロップ
- CTRLキーを押しながらSキーを押す
▷打ち出し器制御確認
スペースキーで打ち出し器を操作できることを確認します。
- エディタ上中央の「▶」をクリック
- スペースキーを押す
- 打ち出し器が手前に移動することを確認
- スペースキーを離す
- 打ち出し器が元の場所に戻り、球が打ち出される事を確認
- エディタ上中央の「▶」をクリック
▷フリッパー物理設定
フリッパーにRigidbodyを割り当て、Is Kinematic(あり)、衝突判定(連続的かつ動的)とします。
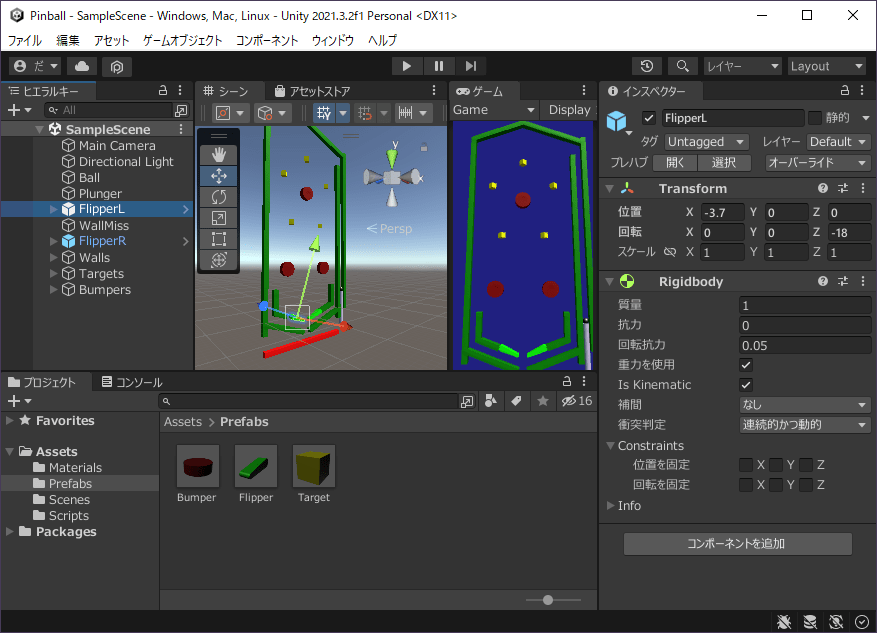
- プロジェクトの「Assets>Prefabs>Flipper」をダブルクリック
- インスペクターの「コンポーネントを追加」をクリックし、Physics>Rigidbodyをクリック
- インスペクターの「Rigidbody>Is Kinematic」をチェック
- インスペクターの「Rigidbody>衝突判定」を(連続的かつ動的)に設定
- ヒエラルキーの左上にある「<」をクリック
- プロジェクトの「Assets>Scripts>GameManager」をダブルクリック
- スクリプトを以下のように記述
▷フリッパー制御
以下の仕様でスクリプトを記述します。
- 左クリックで左フリッパー、右クリックで右フリッパーをZ軸を1フレーム16度の速度で30度まで動かす
- 押されていない時はZ軸を1フレーム16度の速度で-18度まで動かす
using System.Collections;
using System.Collections.Generic;
using UnityEngine;

public class GameManager : MonoBehaviour
{
    public GameObject plunger;
    public GameObject flipperL;
    public GameObject flipperR;

    float plungerY = 3.5f;
    float[] angle = {0, 0};

    // Start is called before the first frame update
    void Start()
    {

    }

    // Update is called once per frame
    void Update()
    {
        Vector3 pos = plunger.transform.position;
        if (Input.GetAxis("Jump") <= 0)
        {
            plungerY = Mathf.Clamp(plungerY + 0.5f, -3.5f, 0);
            pos.y = plungerY;
        }
        if (Input.GetAxis("Jump") > 0)
        {
            plungerY = Mathf.Clamp(plungerY - 1, -3.5f, 0);
            pos.y = plungerY;
        }
        Rigidbody rb = plunger.GetComponent<Rigidbody>();
        rb.MovePosition(pos);

        FlipAction(0);
        FlipAction(1);
    }

    void FlipAction(int button)
    {
        if (Input.GetMouseButton(button) == true)
        {
            angle[button] += 16;
        }
        else
        {
            angle[button] -= 16;
        }
        angle[button] = Mathf.Clamp(angle[button], -18, 30);

        GameObject flipper;
        if (button == 0)
        {
            flipper = flipperL;
        }
        else
        {
            flipper = flipperR;
        }
        Rigidbody rb = flipper.GetComponent<Rigidbody>();

        Vector3 rot = flipper.transform.rotation.eulerAngles;
        rot.z = angle[button];
        rb.MoveRotation(Quaternion.Euler(rot));
    }
}
▷フリッパー割り当て
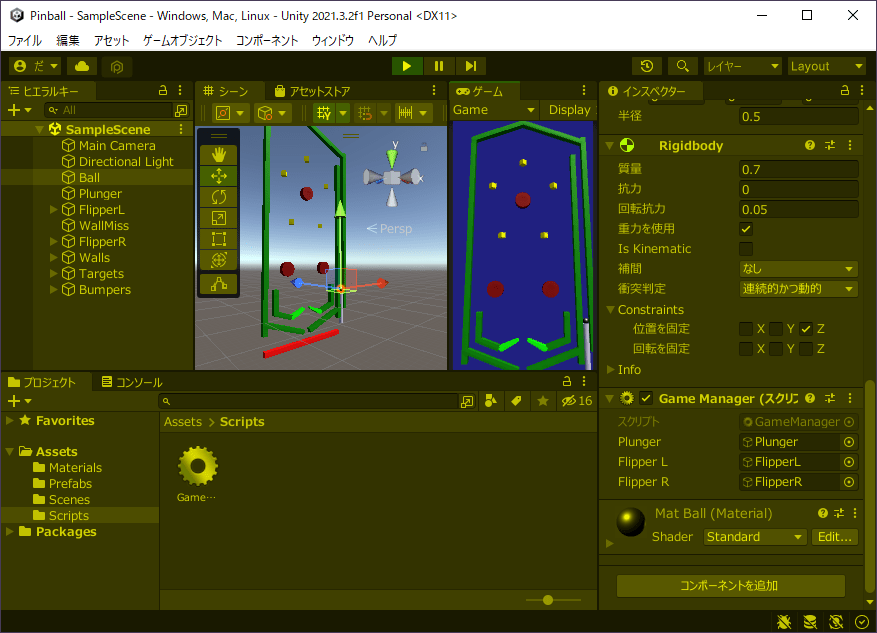
GameManagerの参照にフリッパーを割り当てます。
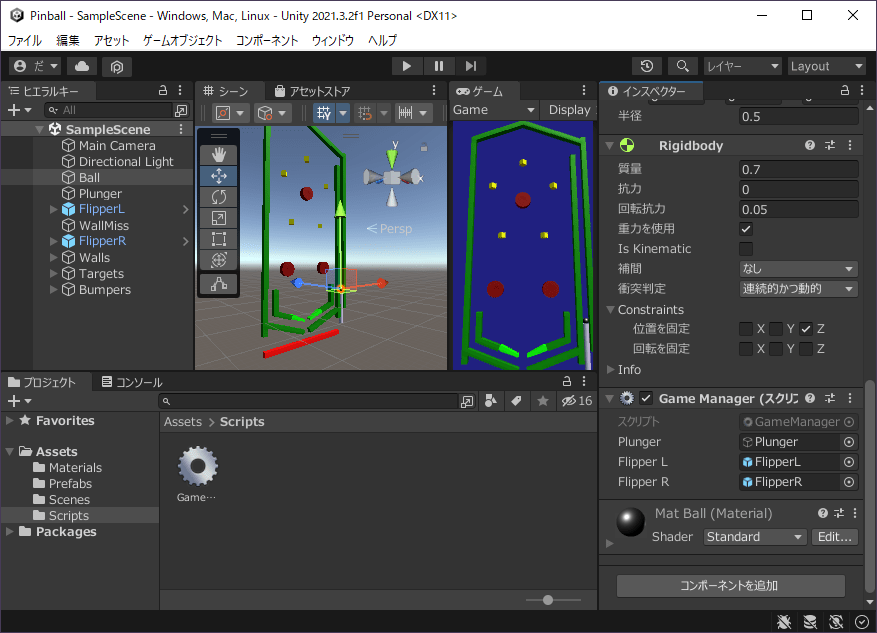
- ヒエラルキーの「Ball」をクリック
- ヒエラルキーの「FlipperL」をインスペクターの「GameManager>FlipperL」にドラッグ&ドロップ
- ヒエラルキーの「FlipperR」をインスペクターの「GameManager>FlipperR」にドラッグ&ドロップ
- CTRLキーを押しながらSキーを押す
▷フリッパー制御確認
マウスクリックでフリッパーを操作できることを確認します。
- エディタ上中央の「▶」をクリック
- ゲームビュー上でマウス左ボタンをクリック
- 左のフリッパーが動く事を確認
- ゲームビュー上でマウス右ボタンをクリック
- 右のフリッパーが動く事を確認
- エディタ上中央の「▶」をクリック
●オブジェクト制御
▷ターゲット設定
ターゲットをトリガーにし、タグ「Target」を作成して割り当てます。
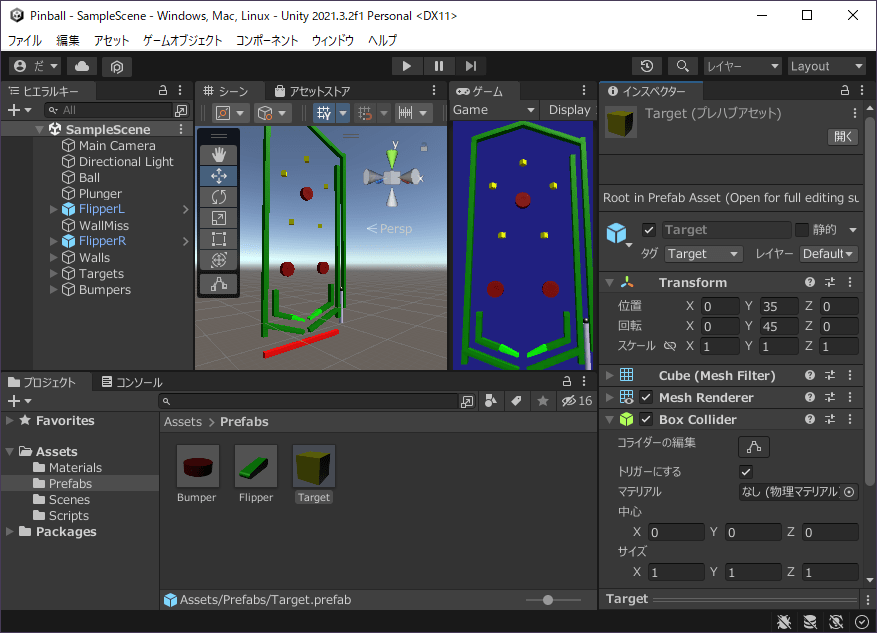
- プロジェクトの「Assets>Prefabs>Target」をダブルクリック
- インスペクターの「Box Collider>トリガーにする」をチェック
- ヒエラルキーの「Target」をクリック
- インスペクターのドロップダウン「タグ」をクリックし、「タグを追加…」をクリック
- インスペクターのタグ右下の「+」をクリック
- 「Target」と入力し、ENTERキーを押す
- ヒエラルキーの「Target」をクリック
- インスペクターのドロップダウン「タグ」をクリックし、「Target」をクリック
- ヒエラルキー左上の「<」をクリック
▷ターゲット制御
プロジェクトの「Scripts>GameManager」をダブルクリックし、玉がターゲットに衝突したらターゲットが消えるようにスクリプトを記述します。
using System.Collections;
using System.Collections.Generic;
using UnityEngine;

public class GameManager : MonoBehaviour
{
    public GameObject plunger;
    public GameObject flipperL;
    public GameObject flipperR;

    float plungerY = 3.5f;
    float[] angle = {0, 0};

    // Start is called before the first frame update
    void Start()
    {

    }

    // Update is called once per frame
    void Update()
    {
        Vector3 pos = plunger.transform.position;
        if (Input.GetAxis("Jump") <= 0)
        {
            plungerY = Mathf.Clamp(plungerY + 0.5f, -3.5f, 0);
            pos.y = plungerY;
        }
        if (Input.GetAxis("Jump") > 0)
        {
            plungerY = Mathf.Clamp(plungerY - 1, -3.5f, 0);
            pos.y = plungerY;
        }
        Rigidbody rb = plunger.GetComponent<Rigidbody>();
        rb.MovePosition(pos);

        FlipAction(0);
        FlipAction(1);
    }

    void FlipAction(int button)
    {
        if (Input.GetMouseButton(button) == true)
        {
            angle[button] += 16;
        }
        else
        {
            angle[button] -= 16;
        }
        angle[button] = Mathf.Clamp(angle[button], -18, 30);

        GameObject flipper;
        if (button == 0)
        {
            flipper = flipperL;
        }
        else
        {
            flipper = flipperR;
        }
        Rigidbody rb = flipper.GetComponent<Rigidbody>();

        Vector3 rot = flipper.transform.rotation.eulerAngles;
        rot.z = angle[button];
        rb.MoveRotation(Quaternion.Euler(rot));
    }

    void OnTriggerEnter(Collider collider)
    {
        if (collider.gameObject.CompareTag("Target"))
        {
            Destroy(collider.gameObject);
        }
    }
}
▷ターゲット制御確認
玉がターゲットに衝突したらターゲットが消えることを確認します。
- エディタ上中央の「▶」をクリック
- 玉をターゲットに衝突させる
- ターゲットが消滅する事を確認
- エディタ上中央の「▶」をクリック
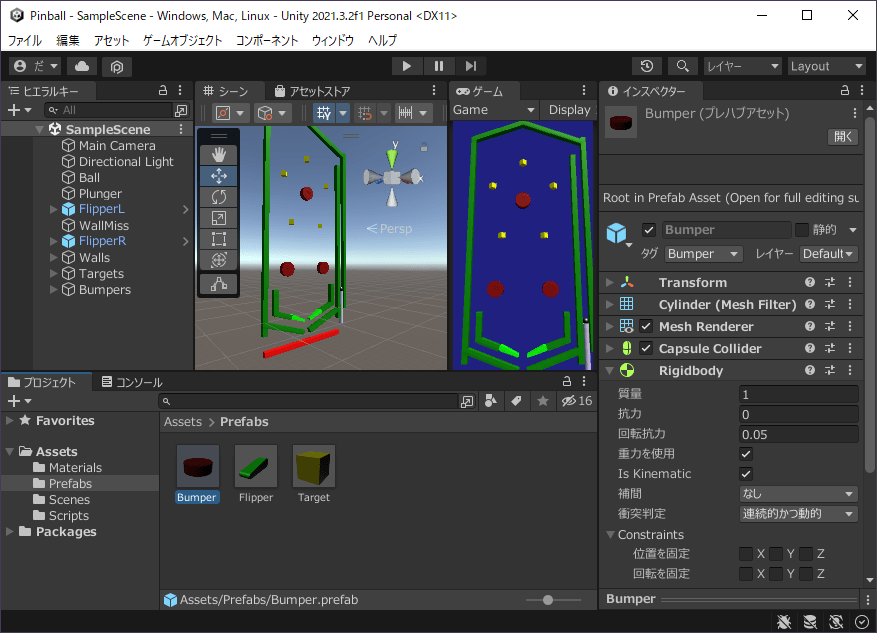
▷バンパー物理設定
バンパーにRigidbodyを割り当て、Is Kinematic(あり)、衝突判定(連続的かつ動的)とします。

- プロジェクトの「Assets>Prefabs>Bumper」をダブルクリック
- インスペクターの「コンポーネントを追加」をクリックし、Physics>Rigidbodyをクリック
- インスペクターの「Rigidbody>Is Kinematic」をチェック
- インスペクターの「Rigidbody>衝突判定」を(連続的かつ動的)に設定
- ヒエラルキーの左上にある「<」をクリック
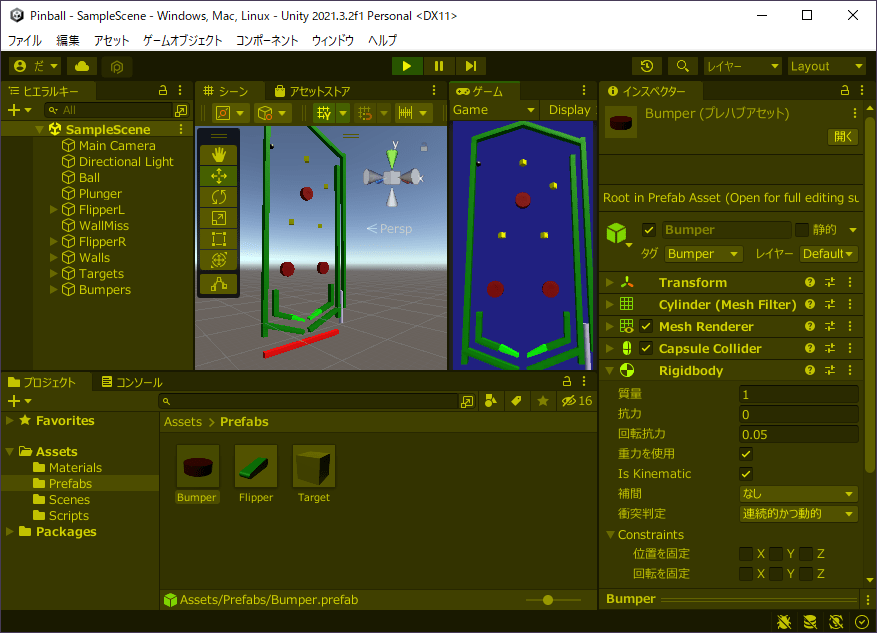
▷バンパー認識
タグ「Bumper」を作成し、バンパーに割り当てます。
- プロジェクトの「Assets>Prefabs>Bumper」をダブルクリック
- ヒエラルキーの「Bumper」をクリック
- インスペクターのドロップダウン「タグ」をクリックし、「タグを追加…」をクリック
- インスペクターのタグ右下の「+」をクリック
- 「Bumper」と入力し、ENTERキーを押す
- ヒエラルキーの「Bumper」をクリック
- インスペクターのドロップダウン「タグ」をクリックし、「Bumper」をクリック
- ヒエラルキー左上の「<」をクリック
▷バンパー制御
プロジェクトの「Assets>Scripts>GameManager」をダブルクリックし、玉がバンパーに衝突したら弾かれるようにスクリプトを記述します。
using System.Collections;
using System.Collections.Generic;
using UnityEngine;

public class GameManager : MonoBehaviour
{
    public GameObject plunger;
    public GameObject flipperL;
    public GameObject flipperR;

    float plungerY = 3.5f;
    float[] angle = {0, 0};

    // Start is called before the first frame update
    void Start()
    {

    }

    // Update is called once per frame
    void Update()
    {
        Vector3 pos = plunger.transform.position;
        if (Input.GetAxis("Jump") <= 0)
        {
            plungerY = Mathf.Clamp(plungerY + 0.5f, -3.5f, 0);
            pos.y = plungerY;
        }
        if (Input.GetAxis("Jump") > 0)
        {
            plungerY = Mathf.Clamp(plungerY - 1, -3.5f, 0);
            pos.y = plungerY;
        }
        Rigidbody rb = plunger.GetComponent<Rigidbody>();
        rb.MovePosition(pos);

        FlipAction(0);
        FlipAction(1);
    }

    void FlipAction(int button)
    {
        if (Input.GetMouseButton(button) == true)
        {
            angle[button] += 16;
        }
        else
        {
            angle[button] -= 16;
        }
        angle[button] = Mathf.Clamp(angle[button], -18, 30);

        GameObject flipper;
        if (button == 0)
        {
            flipper = flipperL;
        }
        else
        {
            flipper = flipperR;
        }
        Rigidbody rb = flipper.GetComponent<Rigidbody>();

        Vector3 rot = flipper.transform.rotation.eulerAngles;
        rot.z = angle[button];
        rb.MoveRotation(Quaternion.Euler(rot));
    }

    void OnTriggerEnter(Collider collider)
    {
        if (collider.gameObject.CompareTag("Target"))
        {
            Destroy(collider.gameObject);
        }
    }

    void OnCollisionEnter(Collision collision)
    {
        if (collision.gameObject.CompareTag("Bumper"))
        {
            Vector3 dir = transform.position - collision.transform.position;
            Rigidbody rb = GetComponent<Rigidbody>();
            rb.AddForce(dir * 30, ForceMode.Impulse);
        }
    }
}
▷バンパー制御確認
玉がバンパーに衝突したら弾かれる事を確認します。
- エディタ上中央の「▶」をクリック
- バンパーに玉を衝突させる
- 玉が弾かれる事を確認
- エディタ上中央の「▶」をクリック
●ゲーム制御
▷ミスエリア認識
ミスエリアにタグ「Finish」を割り当てます。
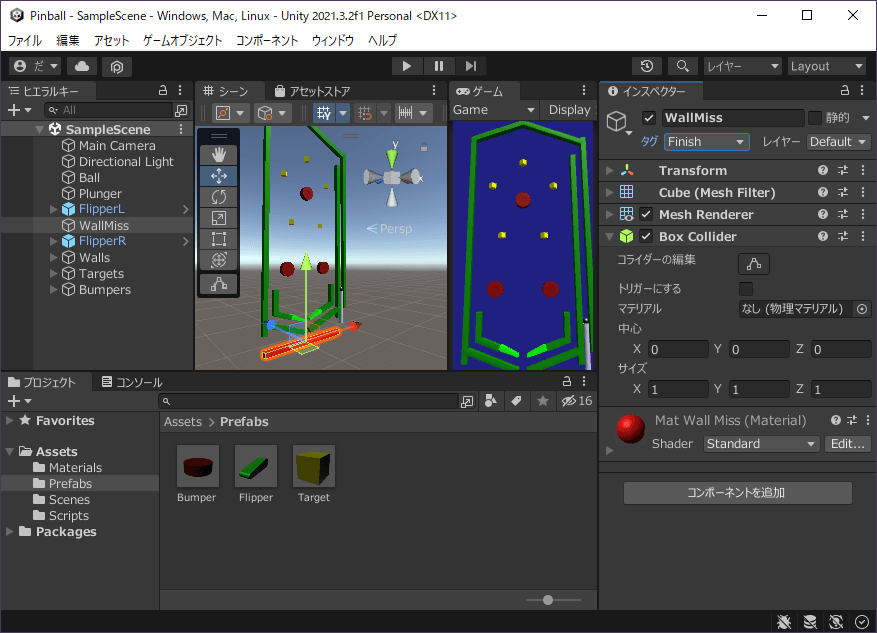
- ヒエラルキーの「WallMiss」をクリック
- インスペクターのドロップダウン「タグ」をクリックし、「Finish」をクリック
- CTRLキーを押しながらSキーを押す
▷リスタート制御
プロジェクトの「Assets>Scripts>GameManager」をダブルクリックし、玉がミスエリアに衝突したらリスタートするスクリプトを記述します。
using System.Collections;
using System.Collections.Generic;
using UnityEngine;
using UnityEngine.SceneManagement;

public class GameManager : MonoBehaviour
{
    public GameObject plunger;
    public GameObject flipperL;
    public GameObject flipperR;

    float plungerY = 3.5f;
    float[] angle = {0, 0};

    // Start is called before the first frame update
    void Start()
    {

    }

    // Update is called once per frame
    void Update()
    {
        Vector3 pos = plunger.transform.position;
        if (Input.GetAxis("Jump") <= 0)
        {
            plungerY = Mathf.Clamp(plungerY + 0.5f, -3.5f, 0);
            pos.y = plungerY;
        }
        if (Input.GetAxis("Jump") > 0)
        {
            plungerY = Mathf.Clamp(plungerY - 1, -3.5f, 0);
            pos.y = plungerY;
        }
        Rigidbody rb = plunger.GetComponent<Rigidbody>();
        rb.MovePosition(pos);

        FlipAction(0);
        FlipAction(1);
    }

    void FlipAction(int button)
    {
        if (Input.GetMouseButton(button) == true)
        {
            angle[button] += 16;
        }
        else
        {
            angle[button] -= 16;
        }
        angle[button] = Mathf.Clamp(angle[button], -18, 30);

        GameObject flipper;
        if (button == 0)
        {
            flipper = flipperL;
        }
        else
        {
            flipper = flipperR;
        }
        Rigidbody rb = flipper.GetComponent<Rigidbody>();

        Vector3 rot = flipper.transform.rotation.eulerAngles;
        rot.z = angle[button];
        rb.MoveRotation(Quaternion.Euler(rot));
    }

    void OnTriggerEnter(Collider collider)
    {
        if (collider.gameObject.CompareTag("Target"))
        {
            Destroy(collider.gameObject);
        }
    }

    void OnCollisionEnter(Collision collision)
    {
        if (collision.gameObject.CompareTag("Bumper"))
        {
            Vector3 dir = transform.position - collision.transform.position;
            Rigidbody rb = GetComponent<Rigidbody>();
            rb.AddForce(dir * 30, ForceMode.Impulse);
        }
        if (collision.gameObject.CompareTag("Finish"))
        {
            SceneManager.LoadScene(SceneManager.GetActiveScene().name);
        }
    }
}
▷リスタート確認
玉がミスエリアに衝突したらゲームがやり直しになる事を確認します。
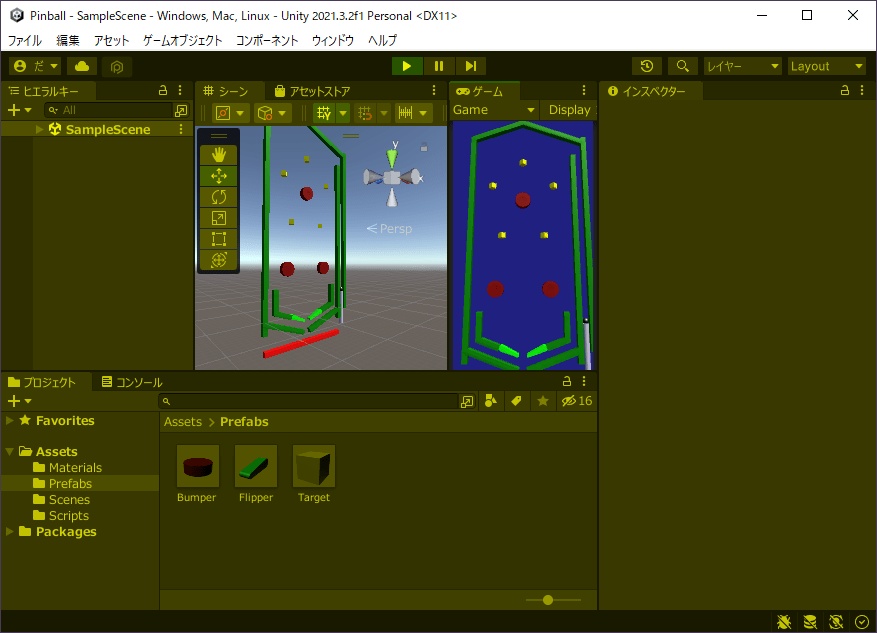
- エディタ上中央の「▶」をクリック
- ミスエリアに玉を衝突させる
- ゲームがやり直しになる事を確認
- エディタ上中央の「▶」をクリック
▷クリアUI作成
クリア用のUIテキストを非アクティブで配置します。
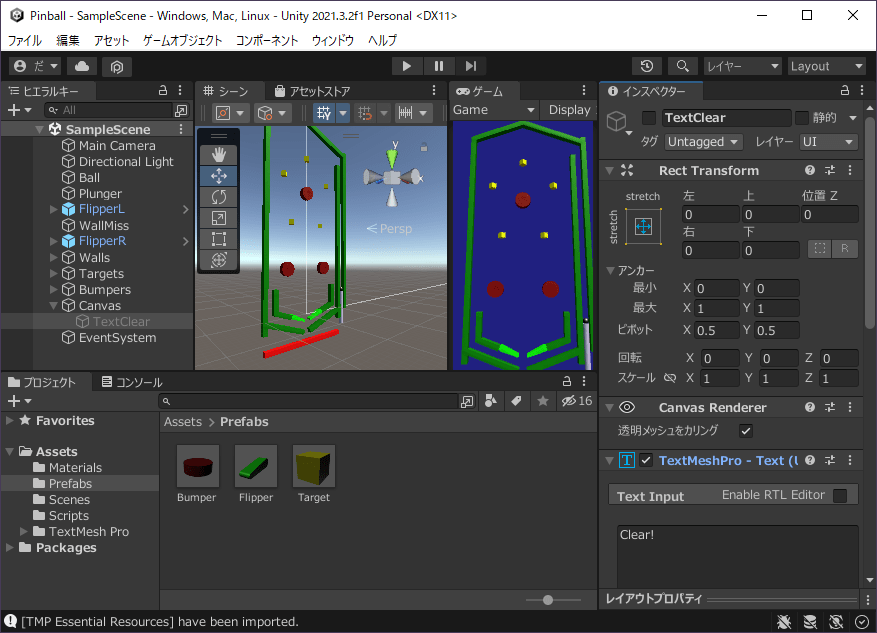
- ヒエラルキー左上の「+」をクリックし、「UI>テキスト – TextMeshPro」をクリック
- TMP Importerの「Import TMP Essentials」をクリック
- TMP Importerを閉じる
- ヒエラルキーの「Text (TMP)」をクリック
- F2キーを押して「TextClear」と入力し、ENTERキーを押す
- インスペクターを以下のように設定
- ・RectTransform左上のアイコン「アンカープリセット」をクリックし、右下の「stretch – stretch」をダブルクリック
- ・RectTransformの「上下左右」を(0, 0, 0, 0)に設定
- ・TextMeshProの「Text Input」にあるテキスト入力を「Clear!」に設定
- ・TextMeshProの「Main Settings>Font Style」にある「B」をオンにする
- ・TextMeshProの「Main Settings>Auto Size」にチェックを入れる
- ・TextMeshProの「Main Settings>Vertex Color」右にあるカラーバーをクリックし、色ダイアログの16進数を「FFFF00」に設定
- ・色ダイアログの右上にある「×」をクリック
- ・TextMeshProの「Main Settings>Alignment」にある「Center、Middle」をオンにする
- ・マテリアル設定にある「Outline」にチェックを入れる
- ・マテリアル設定にある「Outline>Thickness」を(0.2)に設定
- ・マテリアル設定にある「Outline>Color」にあるカラーバーをクリックし、HDRカラーのRを「255」に設定
- ・HDRカラーの右上にある「×」をクリック
- インスペクター左上のチェックを外す
- CTRLキーを押しながらSキーを押す
▷クリア制御
プロジェクトの「Assets>Scripts>GameManager」をダブルクリックし、ターゲットを全て取得したらクリアUIを表示するスクリプトを記述します。
using System.Collections;
using System.Collections.Generic;
using UnityEngine;
using UnityEngine.SceneManagement;

public class GameManager : MonoBehaviour
{
    public GameObject plunger;
    public GameObject flipperL;
    public GameObject flipperR;
    public GameObject uiClear;

    float plungerY = 3.5f;
    float[] angle = {0, 0};

    // Start is called before the first frame update
    void Start()
    {

    }

    // Update is called once per frame
    void Update()
    {
        GameObject[] targets = GameObject.FindGameObjectsWithTag("Target");
        if (targets.Length == 0)
        {
            uiClear.SetActive(true);
            Destroy(gameObject);
            return;
        }

        Vector3 pos = plunger.transform.position;
        if (Input.GetAxis("Jump") <= 0)
        {
            plungerY = Mathf.Clamp(plungerY + 0.5f, -3.5f, 0);
            pos.y = plungerY;
        }
        if (Input.GetAxis("Jump") > 0)
        {
            plungerY = Mathf.Clamp(plungerY - 1, -3.5f, 0);
            pos.y = plungerY;
        }
        Rigidbody rb = plunger.GetComponent<Rigidbody>();
        rb.MovePosition(pos);

        FlipAction(0);
        FlipAction(1);
    }

    void FlipAction(int button)
    {
        if (Input.GetMouseButton(button) == true)
        {
            angle[button] += 16;
        }
        else
        {
            angle[button] -= 16;
        }
        angle[button] = Mathf.Clamp(angle[button], -18, 30);

        GameObject flipper;
        if (button == 0)
        {
            flipper = flipperL;
        }
        else
        {
            flipper = flipperR;
        }
        Rigidbody rb = flipper.GetComponent<Rigidbody>();

        Vector3 rot = flipper.transform.rotation.eulerAngles;
        rot.z = angle[button];
        rb.MoveRotation(Quaternion.Euler(rot));
    }

    void OnTriggerEnter(Collider collider)
    {
        if (collider.gameObject.CompareTag("Target"))
        {
            Destroy(collider.gameObject);
        }
    }

    void OnCollisionEnter(Collision collision)
    {
        if (collision.gameObject.CompareTag("Bumper"))
        {
            Vector3 dir = transform.position - collision.transform.position;
            Rigidbody rb = GetComponent<Rigidbody>();
            rb.AddForce(dir * 30, ForceMode.Impulse);
        }
        if (collision.gameObject.CompareTag("Finish"))
        {
            SceneManager.LoadScene(SceneManager.GetActiveScene().name);
        }
    }
}
▷クリアUI割り当て
クリア用UIテキストをGameManagerの参照に割り当てます。
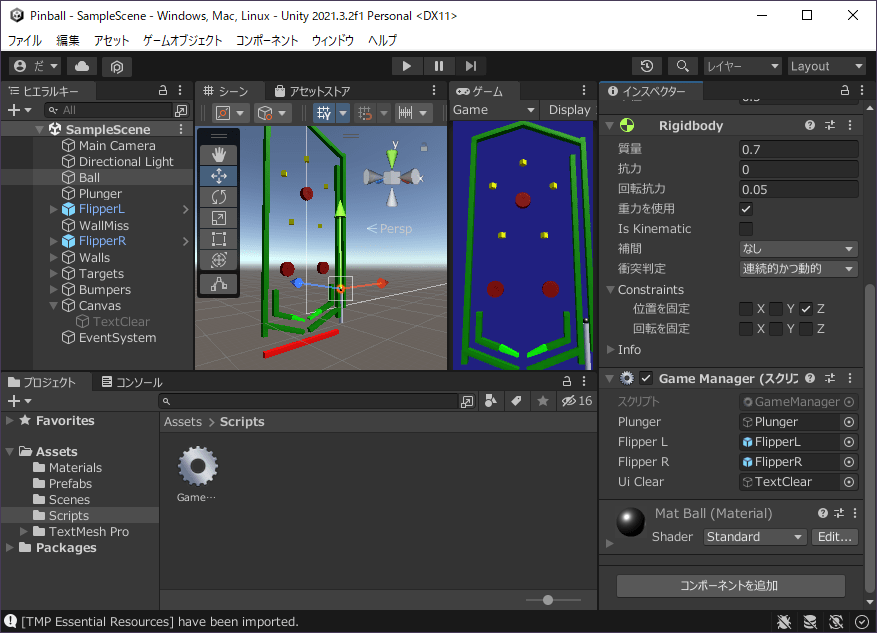
- ヒエラルキーの「Ball」をクリック
- ヒエラルキーの「Canvas>TextClear」をインスペクターの「Ui Clear」にドラッグ&ドロップ
- CTRLキーを押しながらSキーを押す
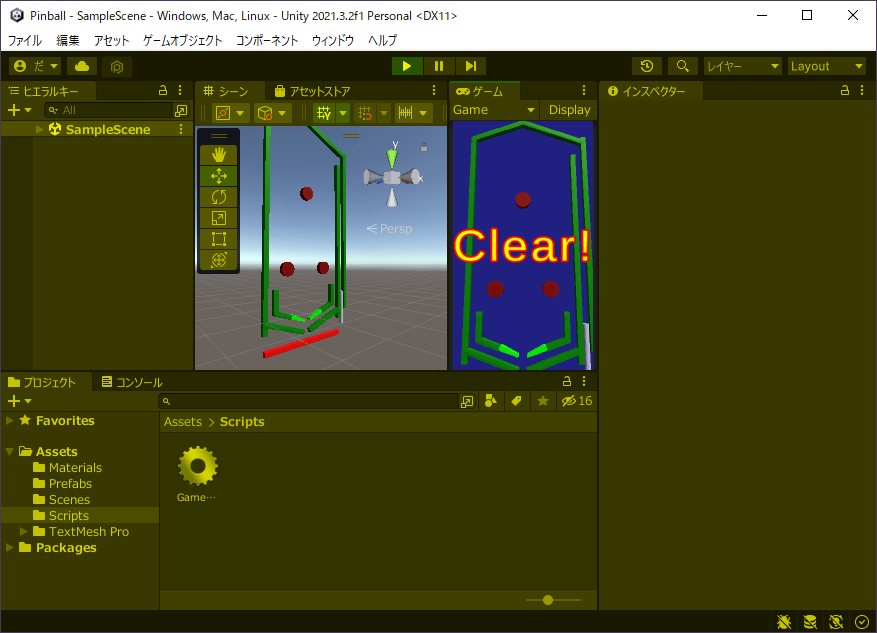
▷クリア確認
全てのターゲットを取得したら玉が消えてクリアが表示される事を確認します。
- エディタ上中央の「▶」をクリック
- 全てのターゲットを取得する
- 玉が消え、クリアが表示される事を確認
- エディタ上中央の「▶」をクリック
完成!
作成手順を書いた記事です。
→紹介
→1/2 オブジェクト作成
今▷ →2/2 オブジェクト機能
完全手順
※紹介と1~2の手順を1ページにまとめています。
読み込みに時間がかかるかも知れません。

コメント